A data connection allows you to connect to a database and associated tables and views.
To add a new data connection:
-
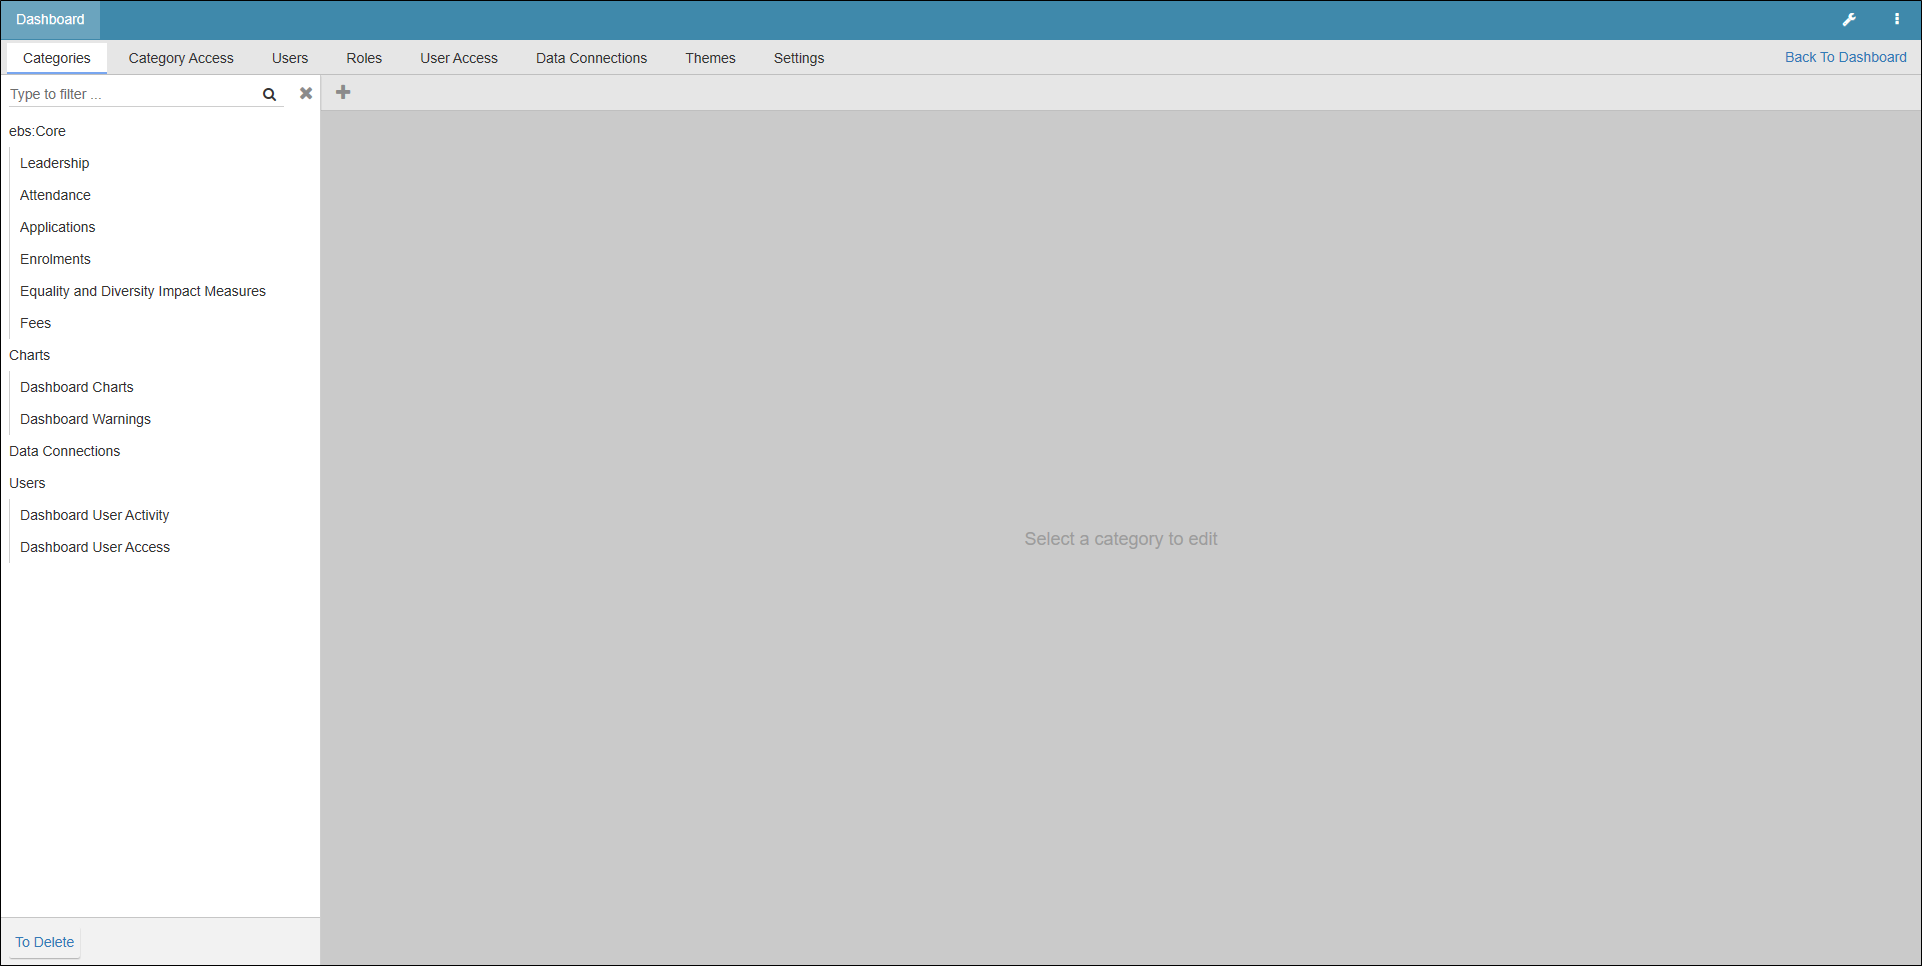
Select the Dashboard Configuration button from the dashboard ribbon.

The Dashboard screen is displayed.
-
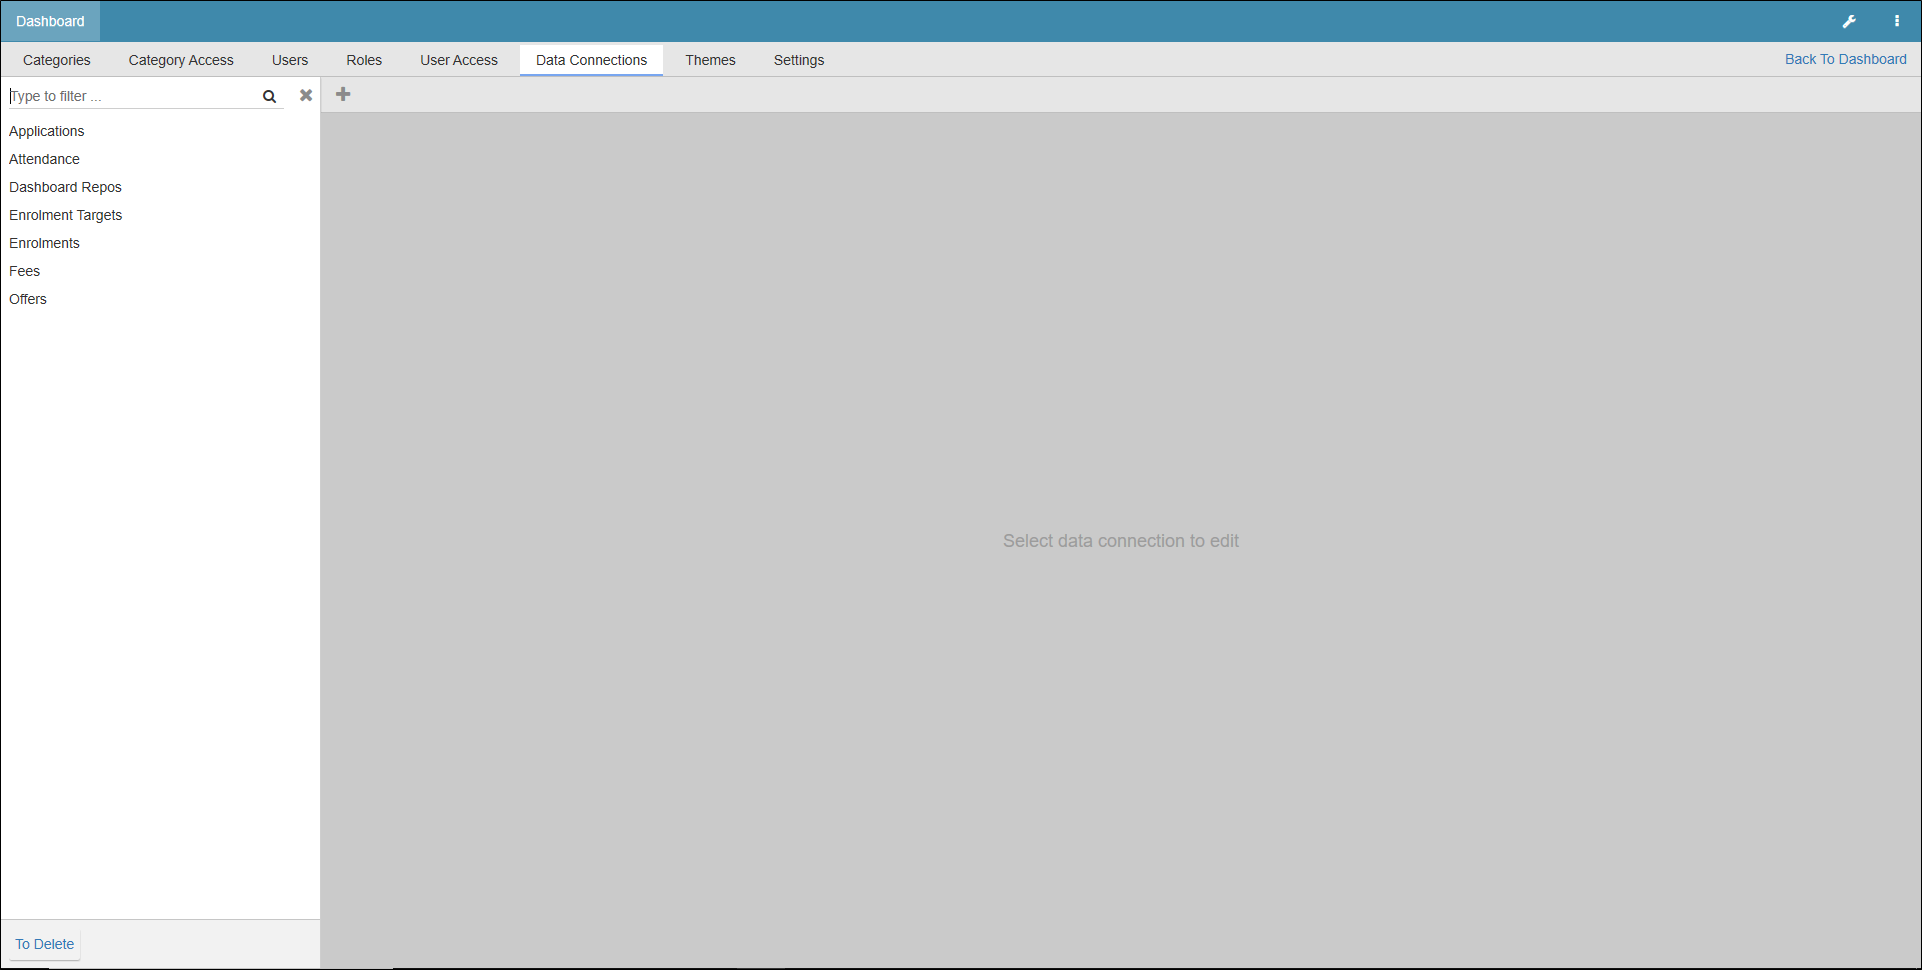
Select the Data Connections tab.

The Data Connections tab is displayed.
-
Select the Add button to add a new connection.

The new connection screen is displayed.
-
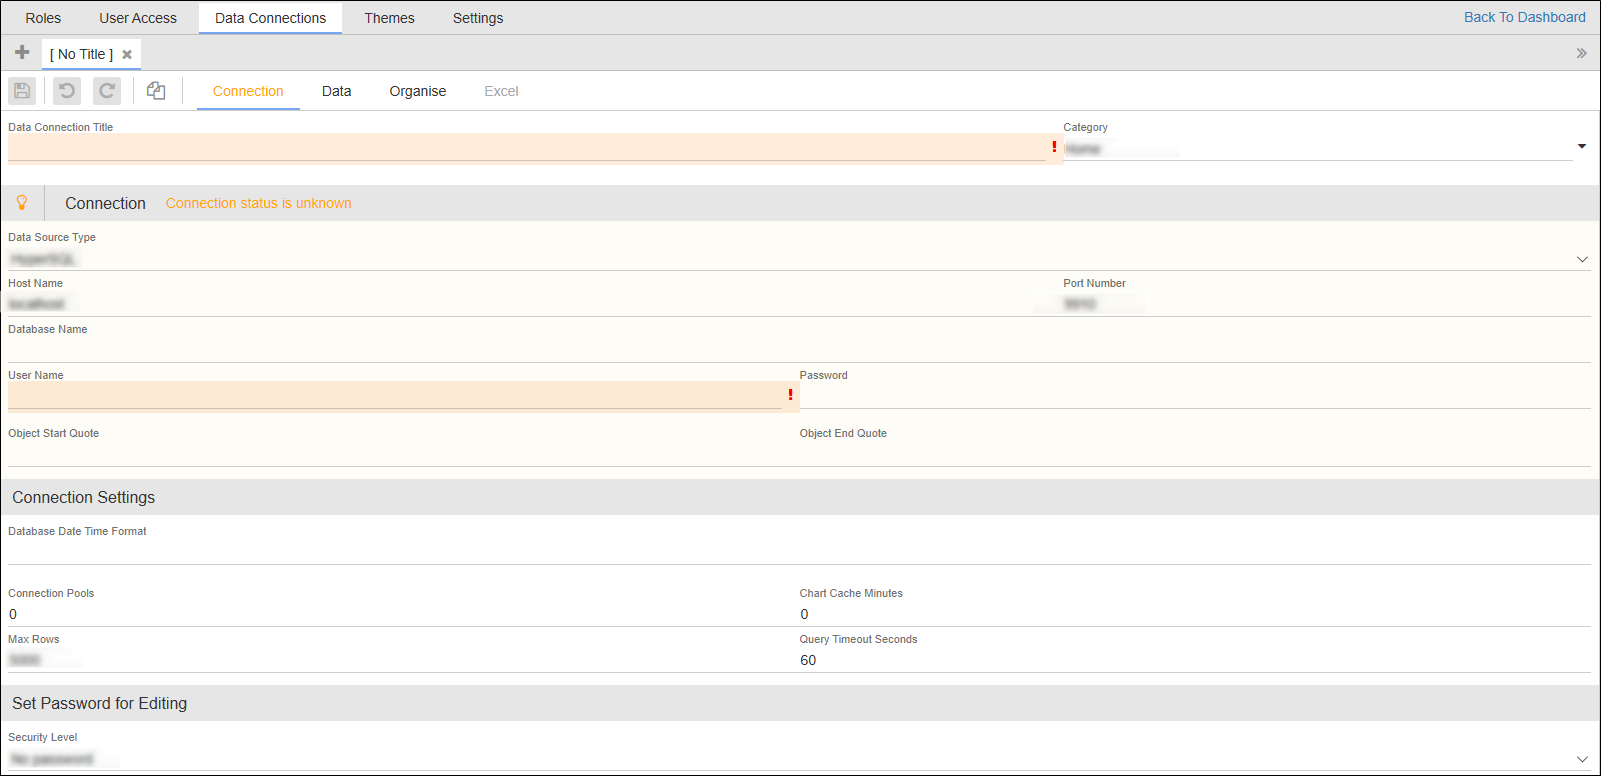
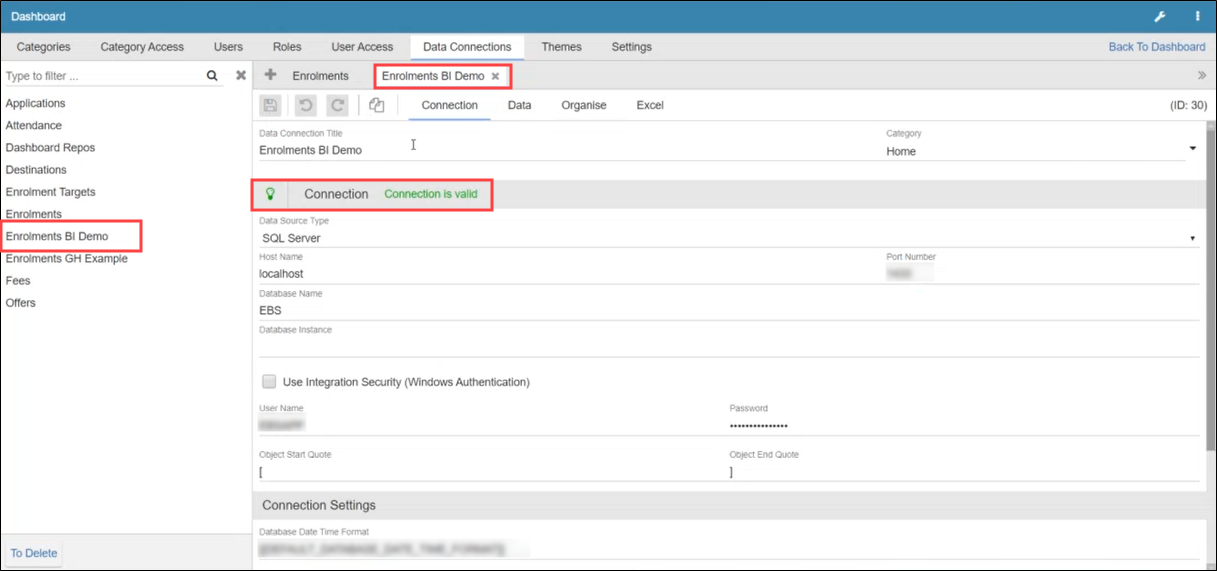
Enter the relevant details.
The relevant fields on the Connections tab are described in the following table.
| This button | Does this... |
|---|---|
| Data Connection Title | The name assigned to the data connection. This field is mandatory. |
| Category | The data connection category. Choose from the drop-down list. |
| Data Source Type | The data source type. Choose from the drop-down list. |
| Host Name |
The host name. Variable: [[EBSDB_HOSTNAME]] |
| Port Number |
The port number. Variable: [[EBSDB_PORTNUMBER]] |
| Database Name |
The database name. Variable: [[EBSDB_NAME]] |
| Database Instance |
The database instance. Variable: [[EBSDB_INSTANCENAME]] |
| User Name |
The account used to access the database. This field is mandatory. Variable: [[EBSDB_USERNAME]] |
| Password | The password for the account used to access the database. |
| Database Date Time Format |
The date and time format. Variable: [[DEFAULT_DATABASE_DATE_TIME_FORMAT]] |
-
Select Save .

A successful connection is indicated in the Connection field. The connection is added to the sidebar menu.
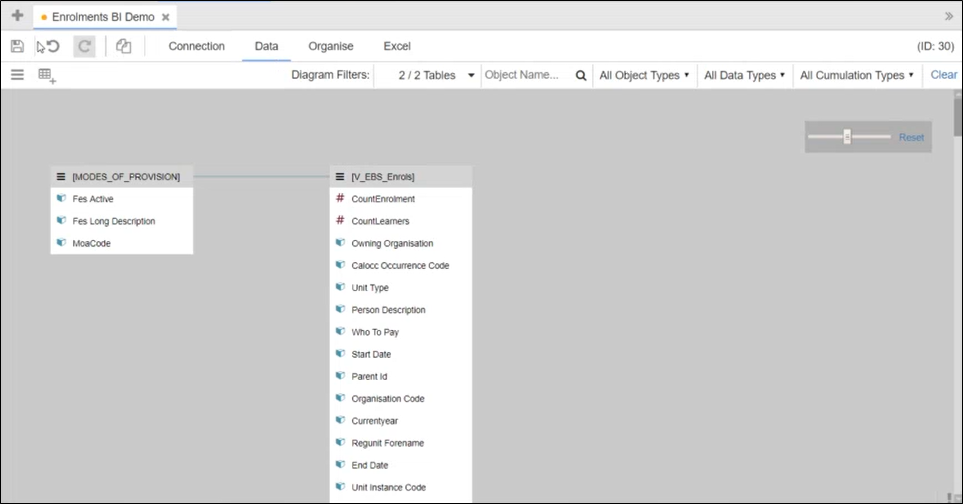
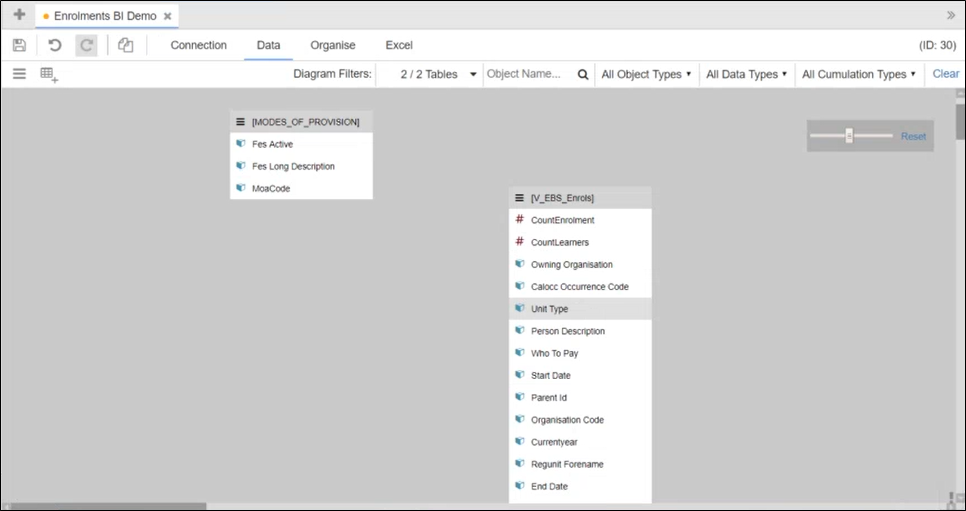
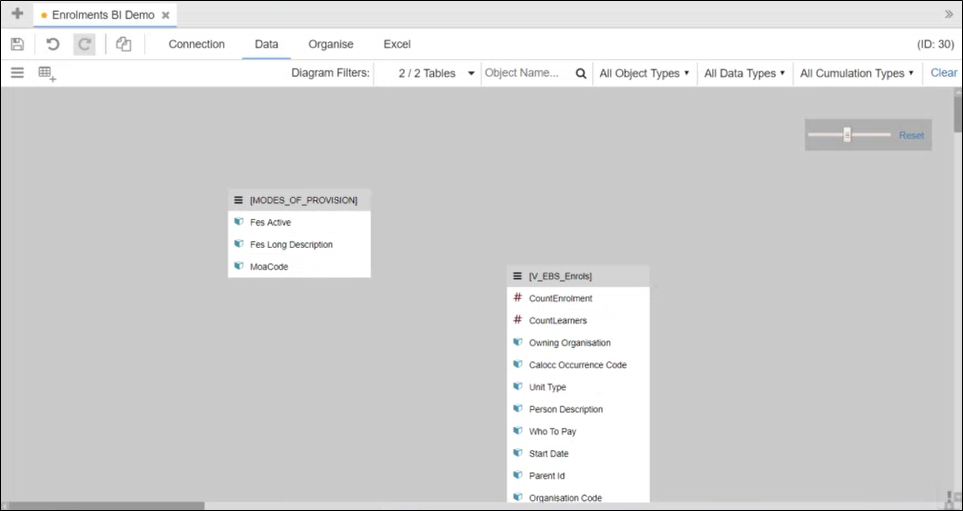
Tables and views can be added to your data connection by selecting from a schema list or by manually creating the item:
Tables and views can be added to your data connection by selecting from a schema list or by manually creating the item.
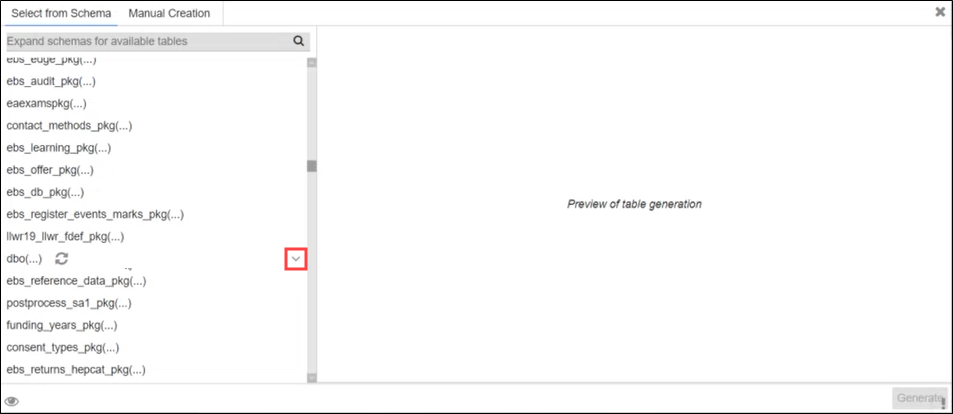
To add data to a connection with Select from Schema:
-
Open the relevant data connection and select the Data tab.

-
Select Add Table .
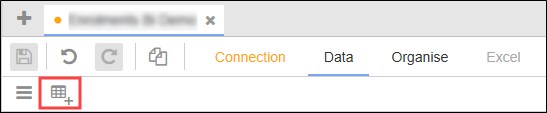
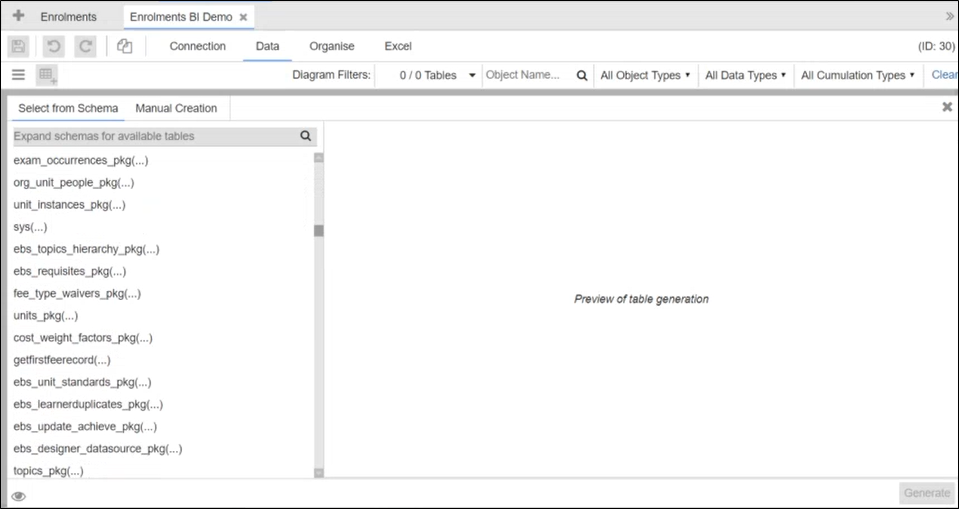
The table generation window is displayed where you can add tables or views.
-
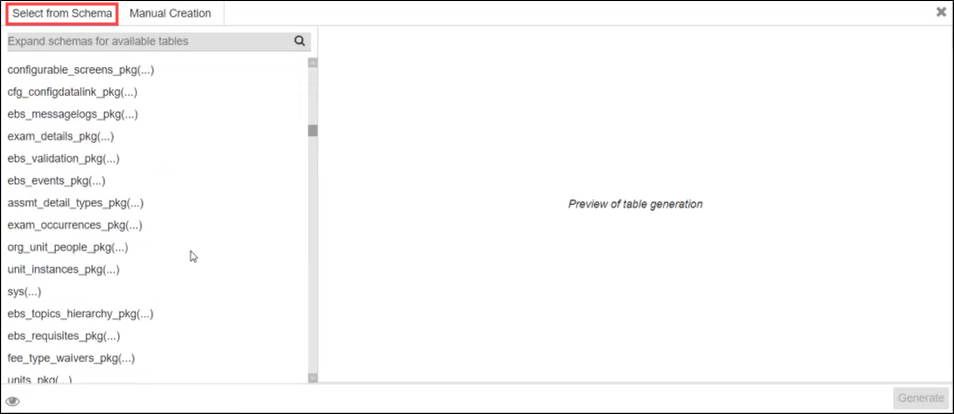
To enter details from the available options, select the Select from Schema tab.
-
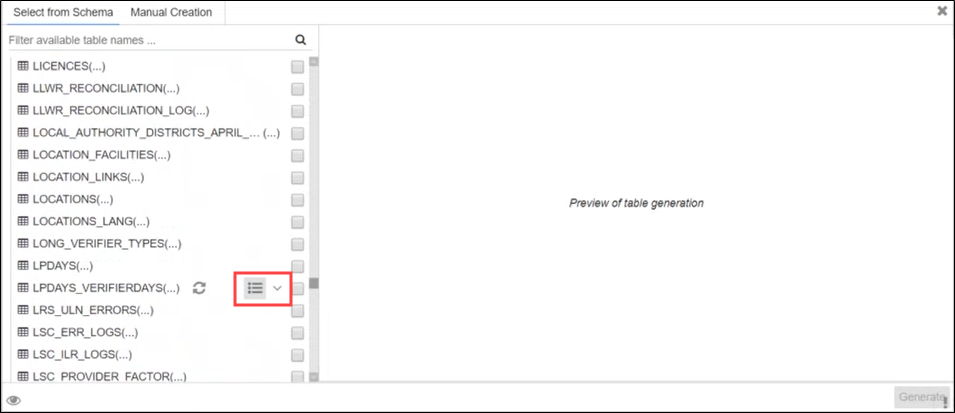
Browse to the relevant table or view, select the Expand button to reveal the contents.
-
Browse the contents of the table or view. Select the relevant check box to include all columns for a table.
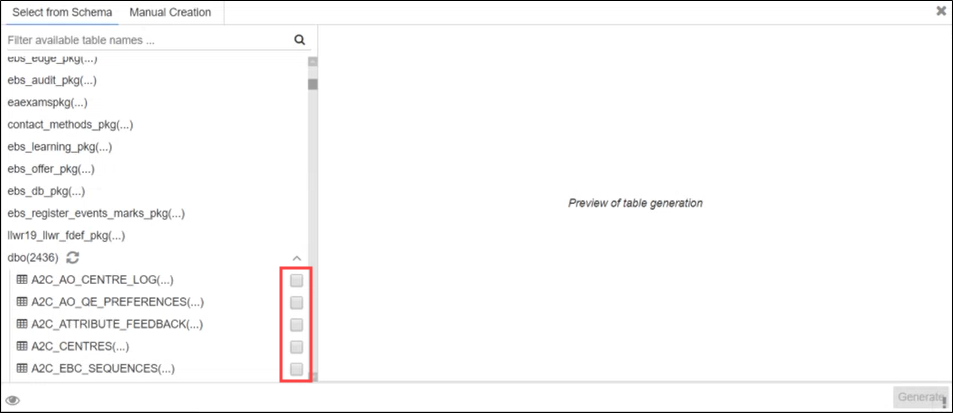
Alternately, select the Select all Columns button to include all columns contained in the relevant table, or select the Expand button to display a columns list.
-
Select the columns that you want to include.
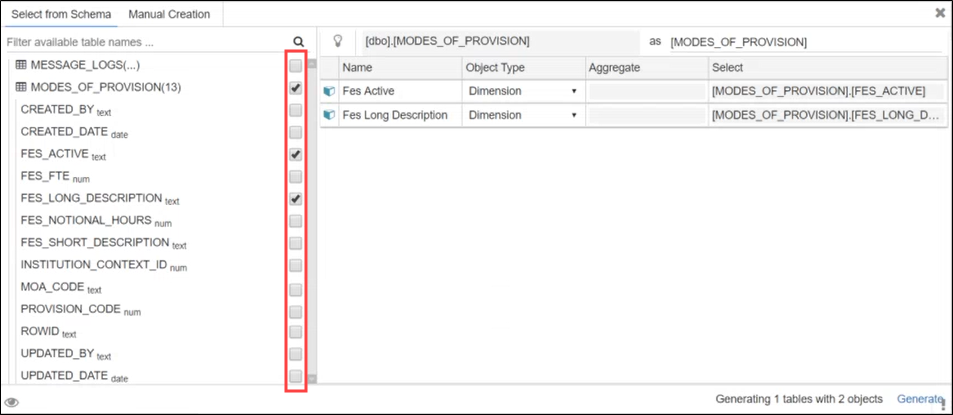 Important.You may have to alter the contents of the Name column if the object has already been included in another item in the data connection (for example: change 'Field name' to 'Fieldname').
-
Select the Generate button in the right-hand corner.

The tables are added to the connection.
- Select Save .
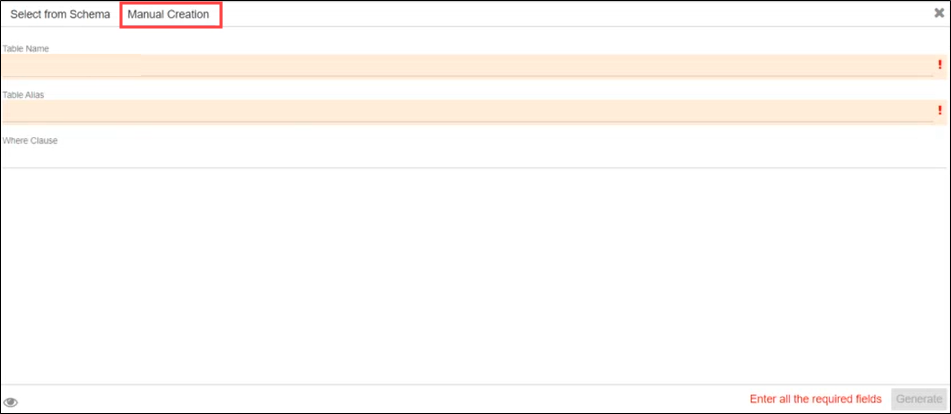
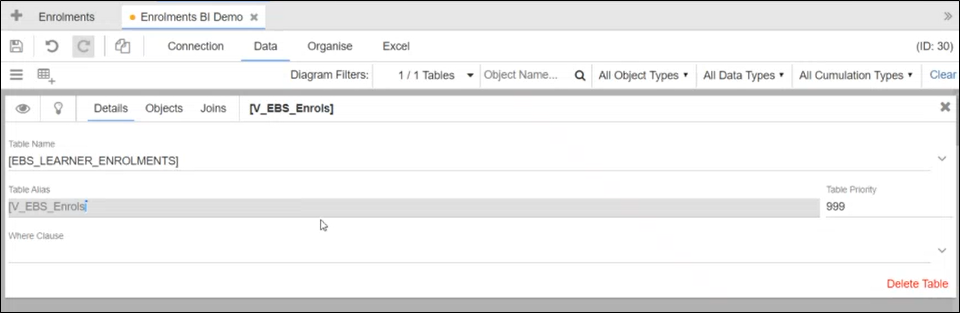
To add data to a connection with Manual Creation:
-
Open the relevant data connection and choose the Data tab.
-
Select the Add Table button.
The table generation window is displayed where you can add tables or views to your data connection.
-
To enter details manually, select the Manual Creation tab.
-
Enter the relevant information.
The relevant fields on the Manual Creation tab are described in the following table.
| This button | Does this... |
|---|---|
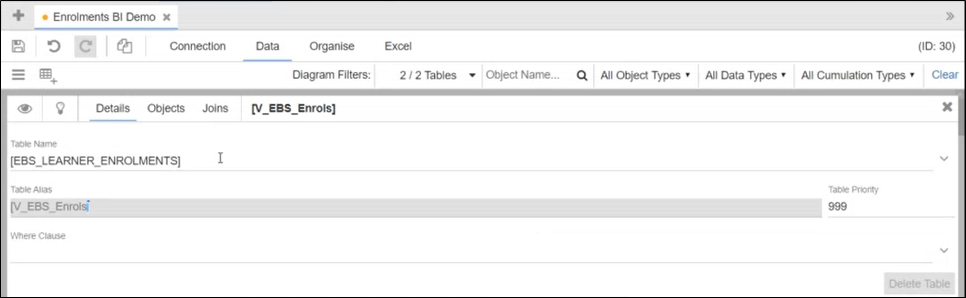
| Table Name | The name of the table or view |
| Table Alias | The table or view's alias name. |
-
Select the Generate button in the right-hand corner.
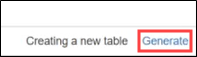
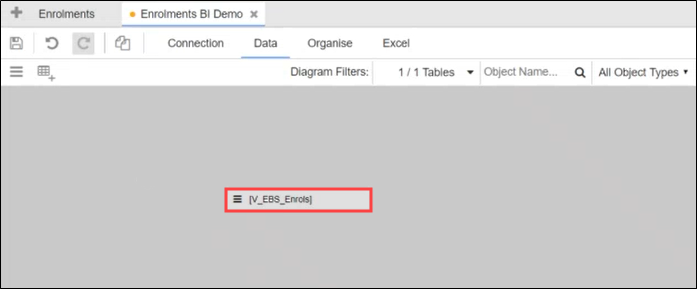
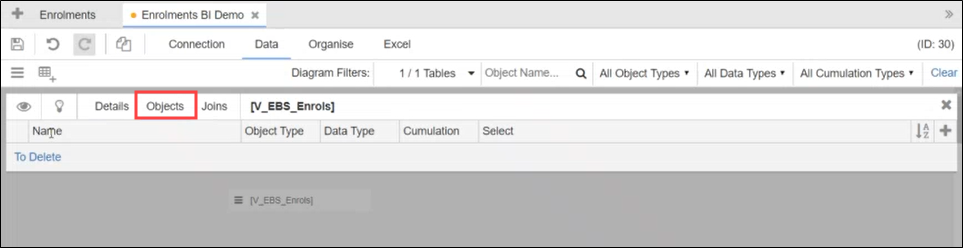
The table is added to the connection. To add columns to a table or view, select the relevant object.
-
The Details screen is displayed.
-
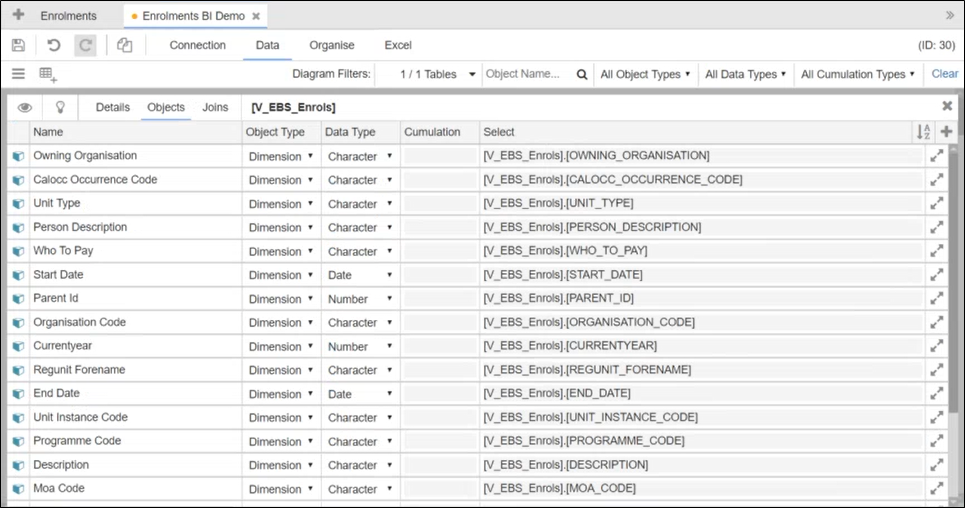
Select the Objects tab.
The Objects tab is displayed.
-
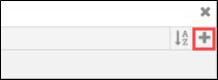
Select the Add Columns button.
The table generation window is displayed
-
Select the columns that you want to include.
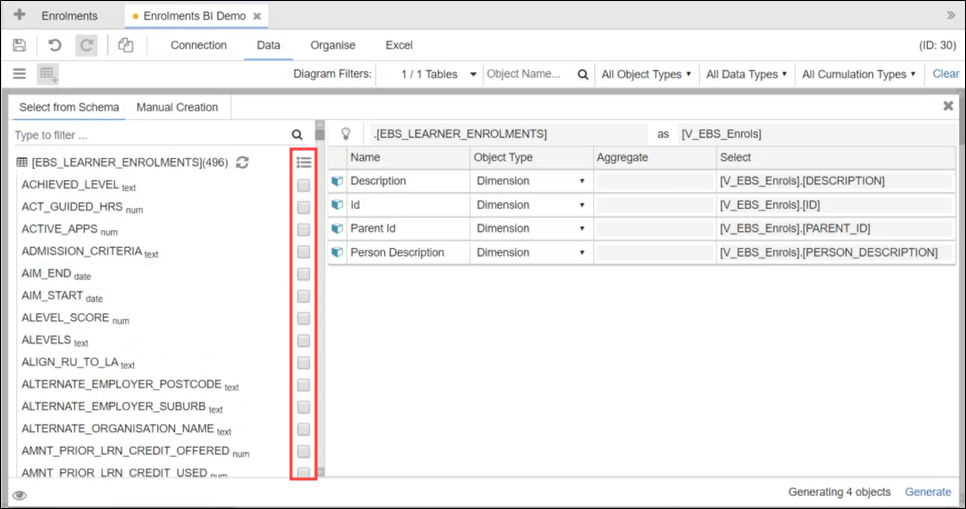 Important.You can use the Object Type and Aggregate drop-down fields to change the values associated with the column.
-
Select the Generate button in the right hand-corner.

The selected columns are added to the table.
- Select Save .
To join tables:
-
Open the relevant data connection and choose the Data tab.

-
Select an object.
The Details screen is displayed.
-
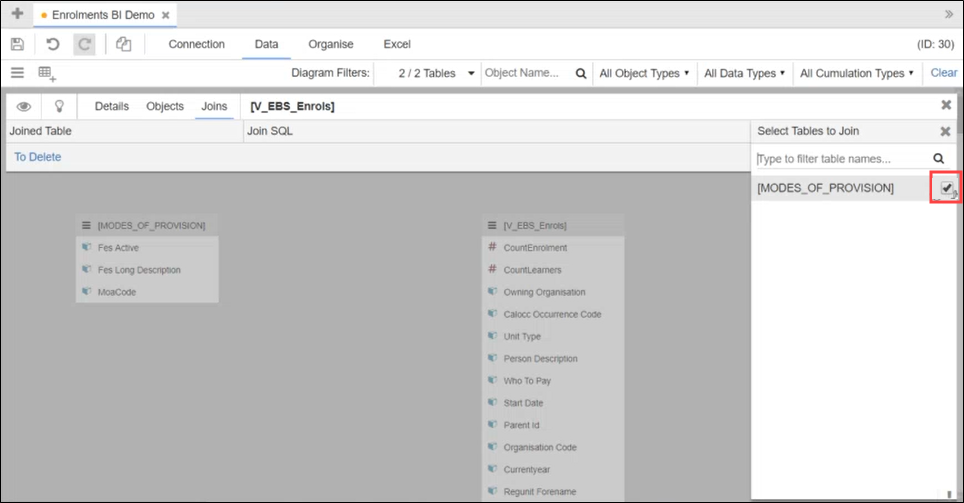
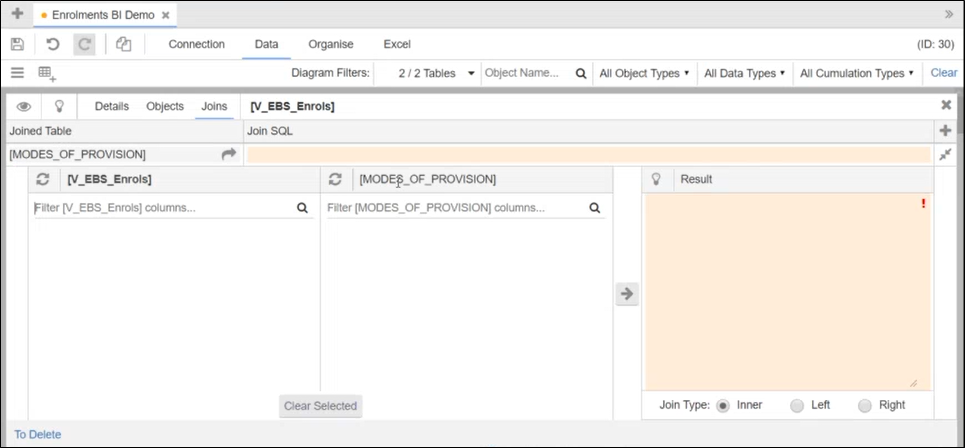
Select the Joins tab.
The Joins tab is displayed.

-
Select the Add table join button.

-
Select the table to join.
The select joins sections are dispalyed.
-
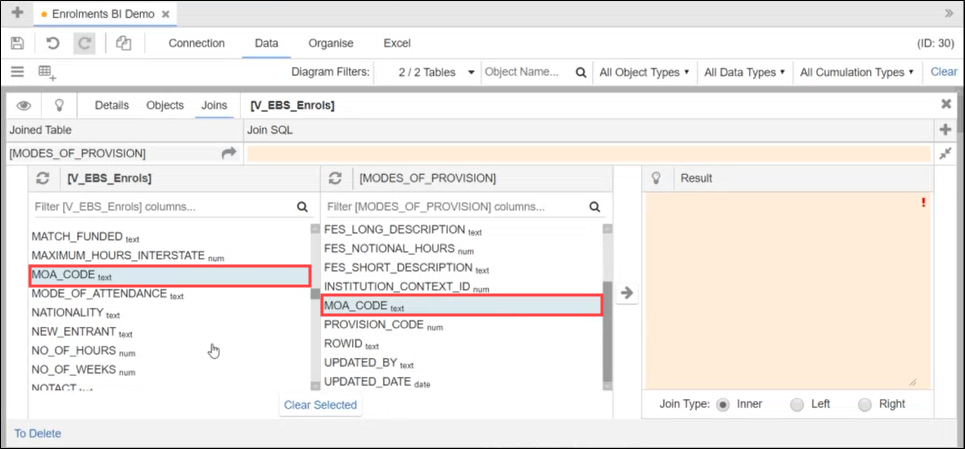
Browse to the first table that you want to join in the left-hand side section.
-
Browse to the second table in the middle section.
-
Select the Append to SQL button.
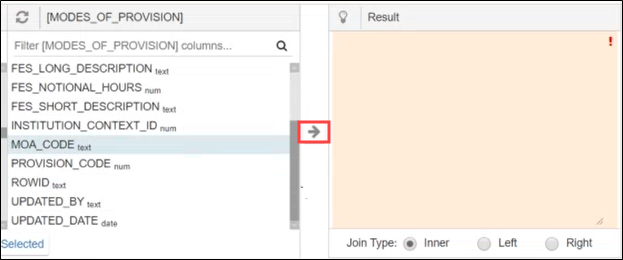
The tables to join are displayed in the Result section.
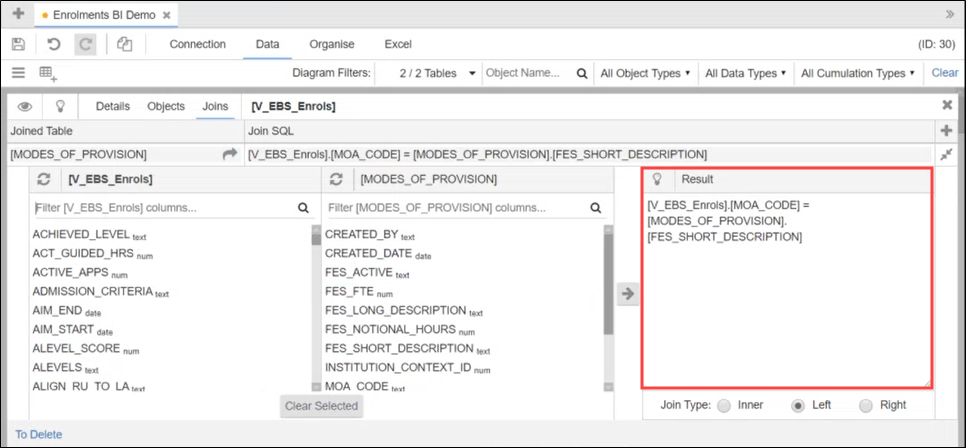 Important.You can choose the join type from Inner, Left or Right.
-
Select Save .
The tables are added to the results section.